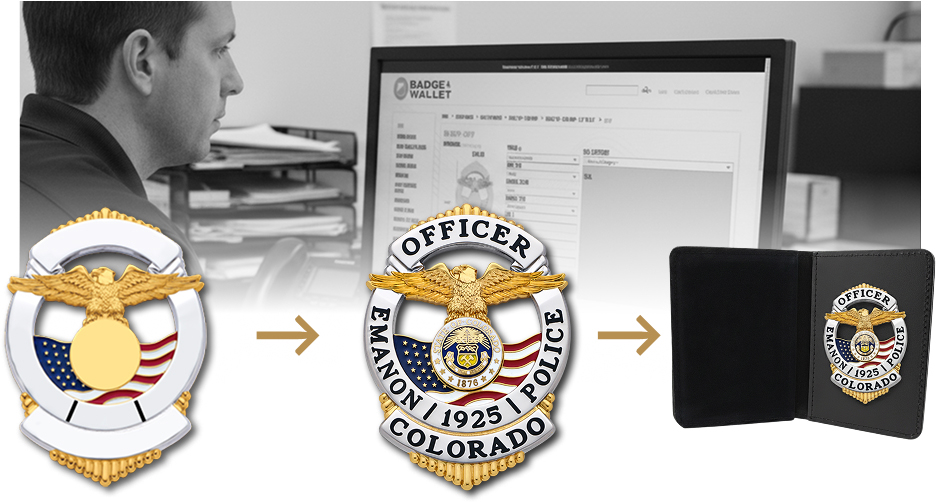
Design Your Custom Badge in 3 Simple Steps
Quickly and confidently design a badge online, with a live preview as you go.
Step 1: Choose Your Badge Style
Whether you're replicating something you've seen or designing something completely new, every badge starts with the right shape and layout.
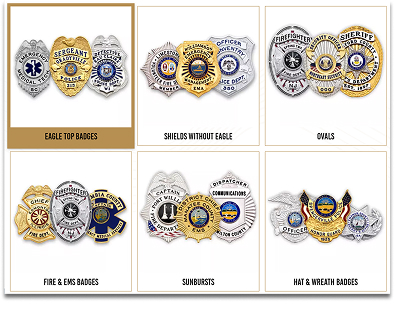
Start by browsing badge categories like Eagles, Stars, Shields, or Ovals. From there, narrow down based on key characteristics.
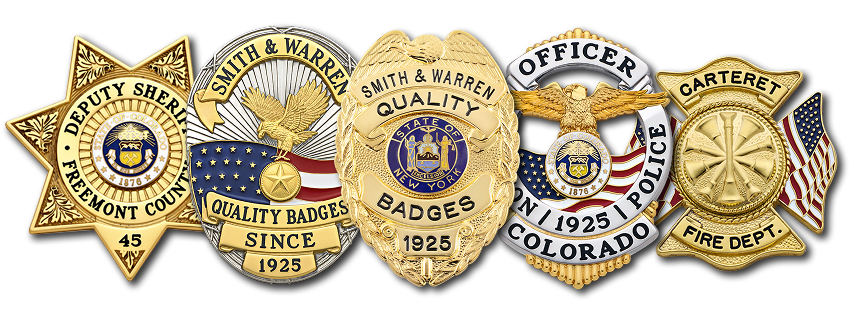
What to Look For:
- Overall Shape: Eagle-top, star, shield, oval, etc.
- Category-Specific Details:
- Stars: 5, 6, or 7 points
- Eagles: Teardrop, circular, and other shapes
- Size: Choose a size that feels right for your role and how you’ll wear it. Most uniform and wallet badges are between 2.5" and 3.5"
- Number of Panels: How many lines of text your badge needs.
- Panel Proportions: Long agency names may need longer panels
Consider Traditional Styles. Keep in mind that traditions for your agency type, geographic region, and even your specific department may influence which badge style you choose. For example:
- Sheriff's offices often use stars
- Maltese cross badges are popular with fire departments
- Regional trends can vary widely. In the Chicago area, police departments often use 5-point stars. In New York, shields are popular for patrol officers. In the Los Angeles area, oval badges are widely used. In Massachusetts, many departments use a sunburst style.
Step 2: Customize the Look
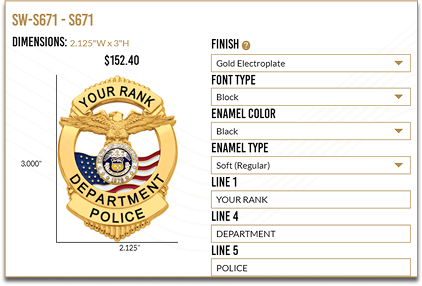
Now that you've selected a badge style, make it yours! You can personalize your badge and see exactly what it will look like before you buy.
Options to Customize:
- Finish: Gold, Silver, Two-Tone, etc.
- Text: Department name, rank, badge number, or other details
- Center Seal: Choose from hundreds of available seals
Features to Highlight:
- Live preview updates as you make changes
- Price updates in real time
- No commitment! Explore and experiment freely
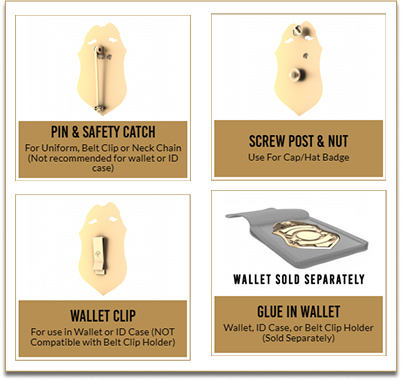
Step 3: Select Attachment or Accessory
Next, choose how you want to wear or carry your badge.
Common Attachment Options:
- Pin & Safety Catch – Best for uniform wear
- Wallet Clip – Designed for carrying in a badge wallet
- Permanent Mount – For badges used exclusively in a leather accessory (not removable)
Consider how you plan to use your badge:
- If you'll wear it on a uniform, you'll need a pin & safety catch.
- For a wallet, use a clip mount or permanent mount.
- Belt holders work best with a pin & safety catch badge.

Ready to get started?
Browse hundreds of badge styles, customize your design, and see exactly how it will look before you order.
